Title - Big Video Letters - Movie

Title - Big Video Letters - Movie
|
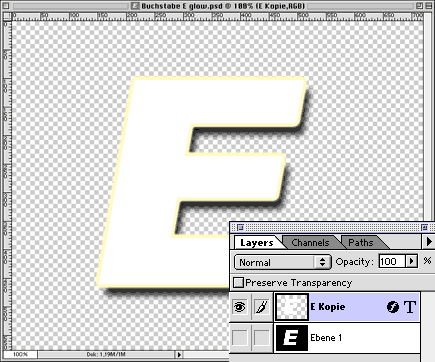
See the result of the first steps. * You`ll find the pictures in the Workshops folder on the CGM DVE CD. If you don`t have the CD, all the pictures used in the workshops can be found in the download area of our website (www.cgm-online.com), contained in a single file "Example Graphics (used in the workshops)". |
 |
|
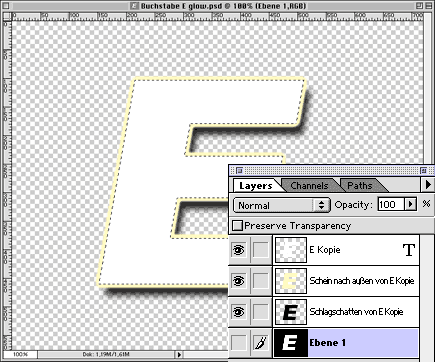
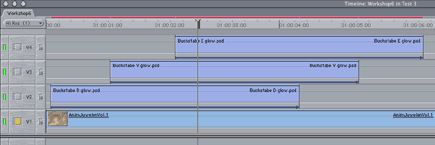
See the new layers and the text layer. |
 |
|
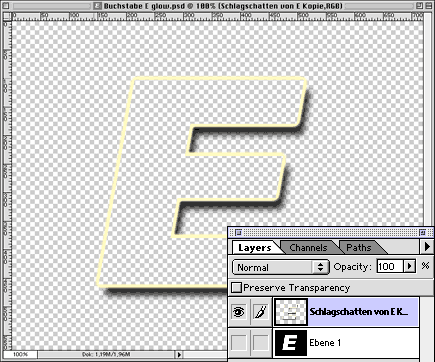
Tip: Use copy and paste to recreate layer effects (shadow, glow etc). |
 |
|
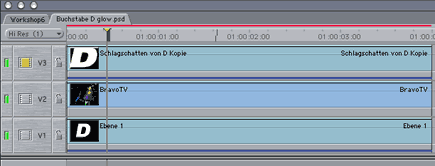
Drag the first letter into the timeline and double-click. Lengthen both scenes up to 4 seconds. Select V1 and add a new track. Place the video scene you wish as the pattern into the new V2 and modify its composite mode: Modify / Composite Mode / Travel Matte-Luma. Do not forget to turn on the V1. |
 |
|
Drag the rest of your letters onto the timeline in new tracks and repeat these changes for each letter separately. To set the first letter's movement open its viewer using the context menu (keyboard ctrl-key & click). Define two keyframes on the Center button: 720 for the first frame and -720 at the end. Now the letter moves from right to left across the video. Copy the scene. Hold down the ctrl-key while you select the next letter, activate Paste Attributes & cross the box for Basic Motion only. Repeat this for all the letters. You can modify the distance between the letters by moving them in the timeline. Notice: Since version 3 Final Cut Pro has a new behavior in using alpha channels. This is the reason for the dark edges outside the outline on the letters. If you put all layers directly into the main timeline the problem is gone. |
 |