Pan and Scan - Movie
Pan and Scan - Movie
| Normally it's a
impossible task to move and scale a logo in Final Cut Pro/Express by using
the built-in motion tab. You rarely get a perfect result, mainly because
you have to create two different curves for the move and scale effect.
Our solution is the video filter CGM Zoom/Rotate.
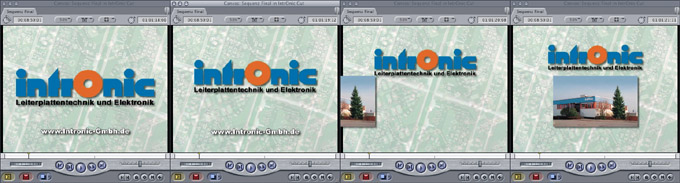
CGM DVE Vol.1+ (also included in CGM DVE Complete) includes this filter which you'll learn how to use in this workshop. Place the background scene onto track 1 of the timeline and the logo onto track 2. Please don't scale the logo in the motion tab; it's best to scale the logo to the project size and add an Alpha channel with Adobe Photoshop. Make a cut at the point where the animation should start (1). Take a look at the screenshot where you can see the other graphic elements in the preview video. |
 |
|
Now place the playhead at the beginning of the filter (1), set the Amount to 0 and add for a keyframe by clicking onto the keyframe gadget. As we don't need a rotation, set the Z axis Rotation to 0°. Then place the playhead at the timeline where the animation should stop (2) and set the Amount to 32. Set the Endpoint "y" value to -430 and the logo will travel upwards while the video filter is running. You'll get nice smooth movement when you use the Bezier option for the Amount keyframes. To do this, hold down the control key and click onto a keyframe point in the Viewer. A context menu appears where you select Smooth. |
 |
|
Double click the logo in the timeline and select the motion tab in the viewer. Expand the Drop Shadow input controls and choose your shadow settings. That's it! |
 |