|
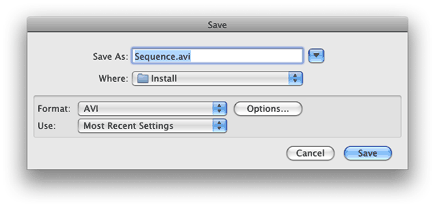
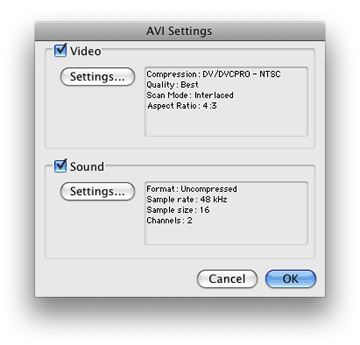
How to convert Final Cut Pro videos into WMV format? For the wmv encoding I use the Windows Media Encoder on a Windows XP Bootcamp installation; it works perfectly, it's very fast and best of all: it's free. The only issue is that as the encoder doesn't understand QuickTime videos, we have to export the video as AVI. Make sure you use QuickTime 7.6 or higher because older versions have a bug when exporting PAL videos to AVI (irrespective what the settings are, the AVI video stutters). But everything works seamlessly in the current version of Quicktime. Start Final Cut Pro, select the Sequence icon in the Browser and select 'File / Export / Using QuickTime Conversion .…' from the pulldown menu. Set AVI as export format and then click the 'options' field and adjust these to reflect your project settings. For example, if you are working in DVCPRO, you select the DVCPRO codec. When you are working in a HD project, you can use 'none' or 'Cinepak' as video compressor. For the audio settings I suggest no compression, 48.000 kHz, 16 bit, Stereo. Last of all, save the file. For best results, render all effects in the timeline before exporting to a AVI file. Copy the AVI file into your Windows partition. This step is necessary because when you reboot in Windows, you'll have no access to your Mac partitions. Restart your Mac with Windows as operating system. Choose 'Apple / Restart...' from the Apple pulldown menu, remembering to keep the left alt key pressed until you see the boot menu. There you can select your Windows partition. |
|
|
This basically ensures that every second field will be used. If this step was not taken, the mixed fields would be apparent, giving less than satisfactory results. The destination frame rate also depends on your source video. I suggest you use 25 frames per second when your source video is in PAL and 30 frames per second when the source is NTSC. Because there are so many options, you can download three session files here. Use these settings as a springboard for your own experiments. Happy encoding! |

